Customize
kernl() offers a number of customizations to add both visual intrest and more personalized messaging options.
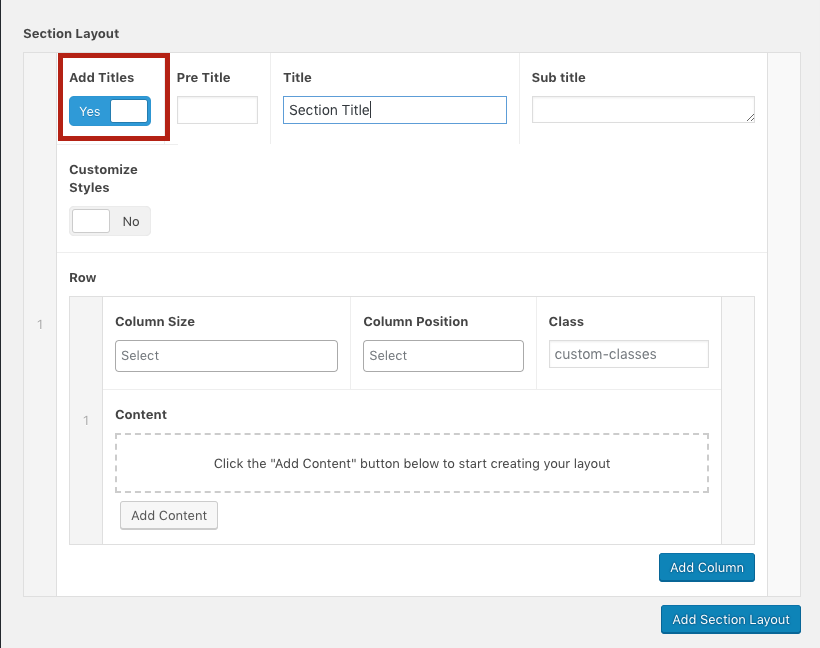
Add Titles
Click "Add Titles" to override the page title, and add a pretitle and/or subtitle.
Admin View
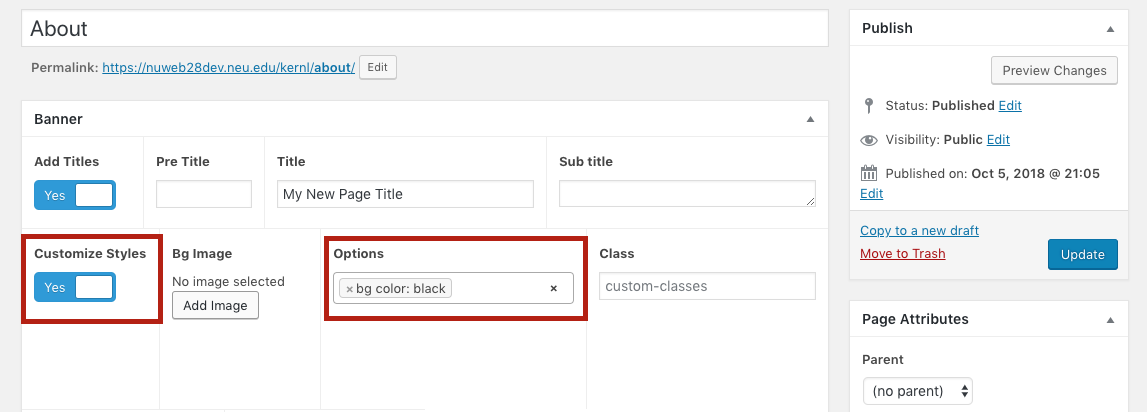
Customize Styles
Click on "Customize Styles" to active the visual options of the banner. Note the background color will default to black, which is recommended unless you want to add an image.
Admin View
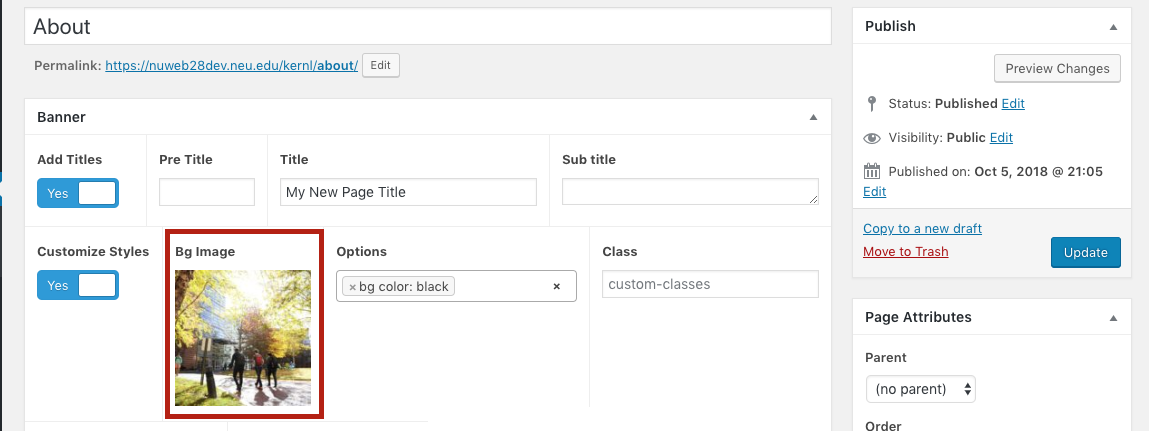
Add an Image
Click the "Add Image" button. This will bring up the media library to select an existing image. You can also upload a file that is not already in the library. For more in-depth information on images visit these tow sections: For image creation and formating go to Imagery. On how to upload and manage files in WordPress, visit Media.
Admin View
By adding and image you will get a new dialoge box
Admin View
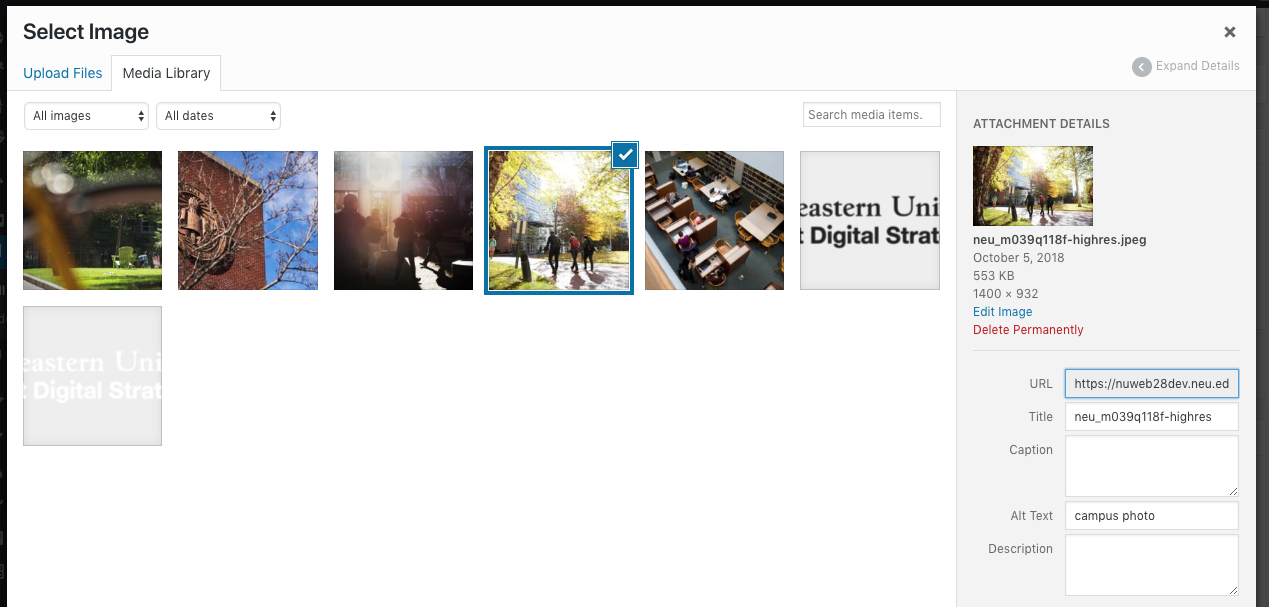
This view shows all the images already in your media library
Advanced Options
Utilities and the Section
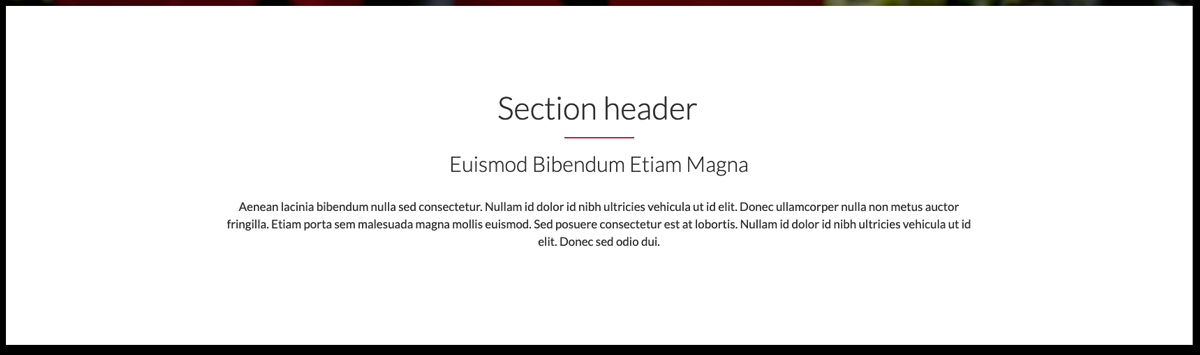
Start by creating a basic section. Use Options and Class Utilities to center the section header, add a red line under it, and give the section padding on the top and bottom for more breathing room. The Utilities Section provides a vast array of other options and definitions.
Live View

This is a basic section, all the text ids flush left and the space is narrow.
Admin View
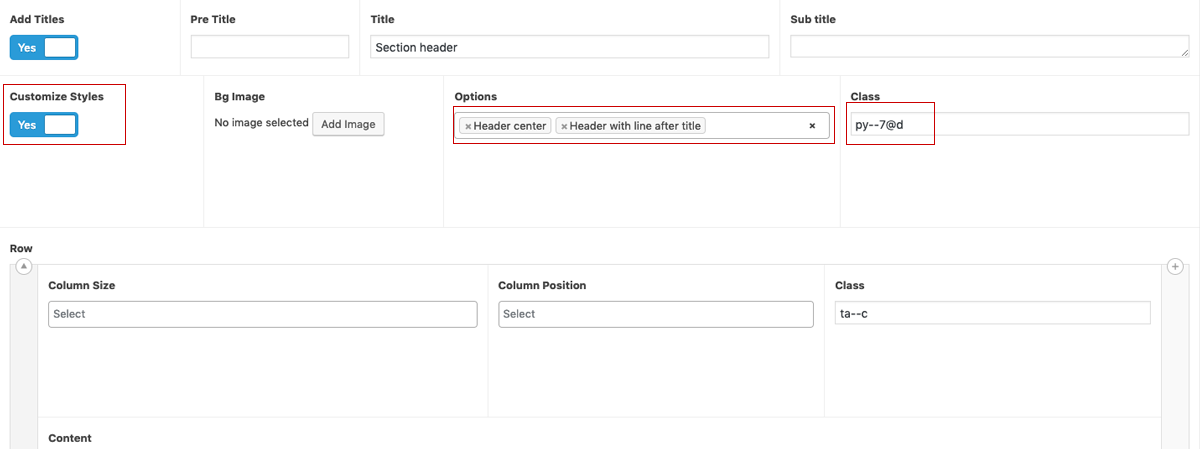
Use the Options for Header styles. In the Class input box add py--7@d. This snippet translates to padding of 7 along the y axis at the desktop view.
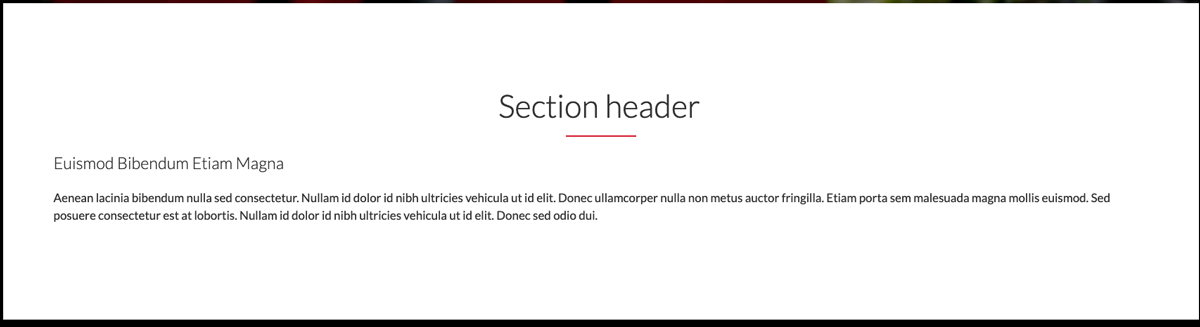
Live View
Utilities and Content
Define the column size, then use the class utilities to customize the position of the copy and center the content box. The text utilities used in this example translated here: t(text) a(align) -- c(center). Margin is important for centering the text block. The spacing utility mx--auto will center align column size on the page.
Live View
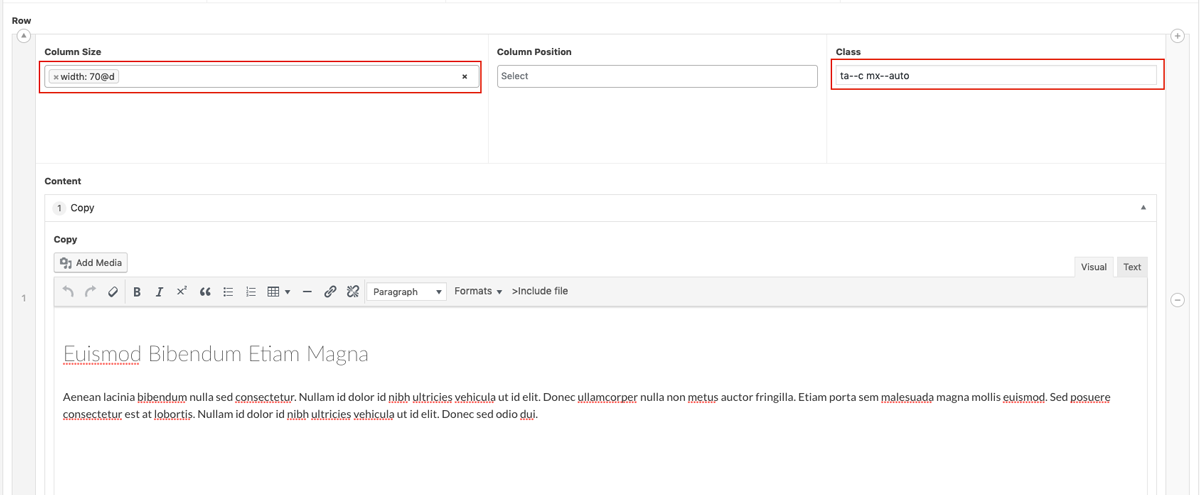
Width 70@d places the copy in a 'box' 7 columns wide.
Admin View